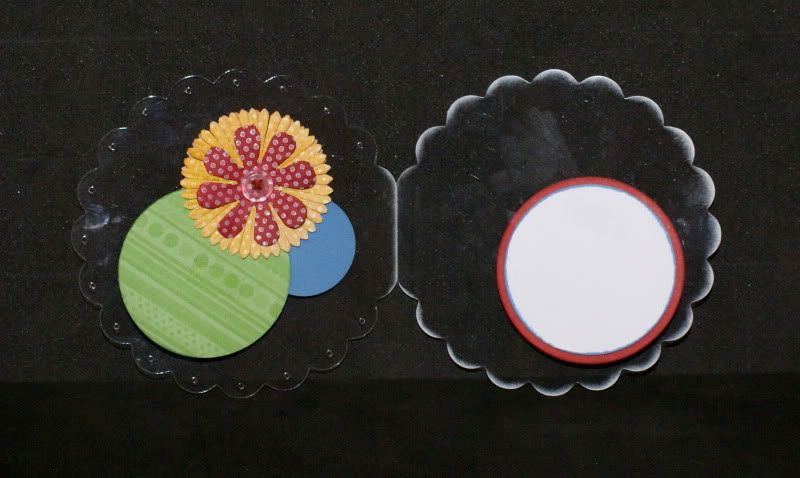
Showing posts with label Clear Cards. Show all posts

Thursday, May 6, 2010

One more CLEAR scalloped circle card. with paper flower tutorial.....

BUT not the last.....LOL

Have you visited Jeanette Lynton's blog recently?  If not, click on her banner on the side of my blog and check out the cards and color combo that she posted on Monday.  I faithfully visit every Monday to see what color combo's she has and I always have good intentions of creating something using those colors.  But, I never seem to get around to doing it. 

Well, I did this week.  I also created the flower that she created on the bottom card.  It took me a few tries, but I ended up with something completely different, but just as beautiful, I think!  lol


Inside of card is fairly simple......


Onto the tutorial.......This is step by step on how I made this flower.  Remember to check out the flower that this was inspired from over at Jeanette Lynton's blog.....

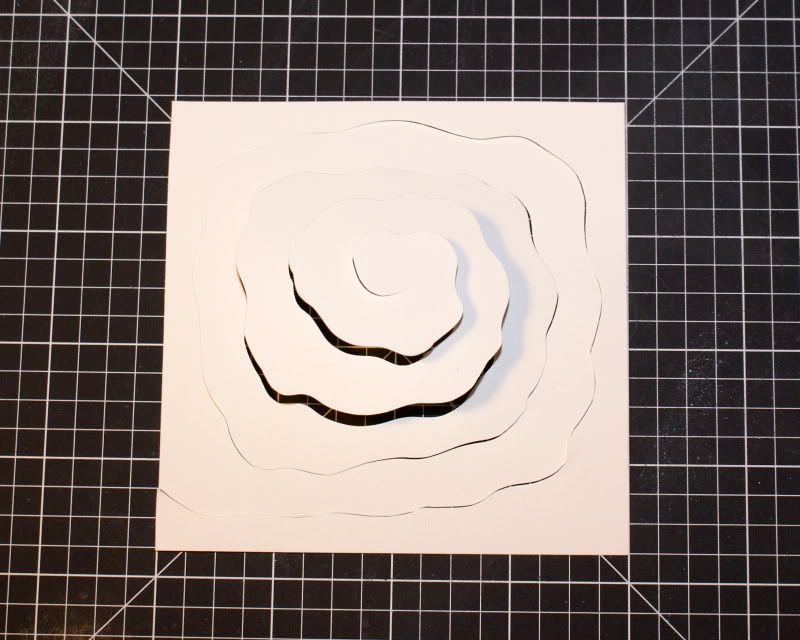
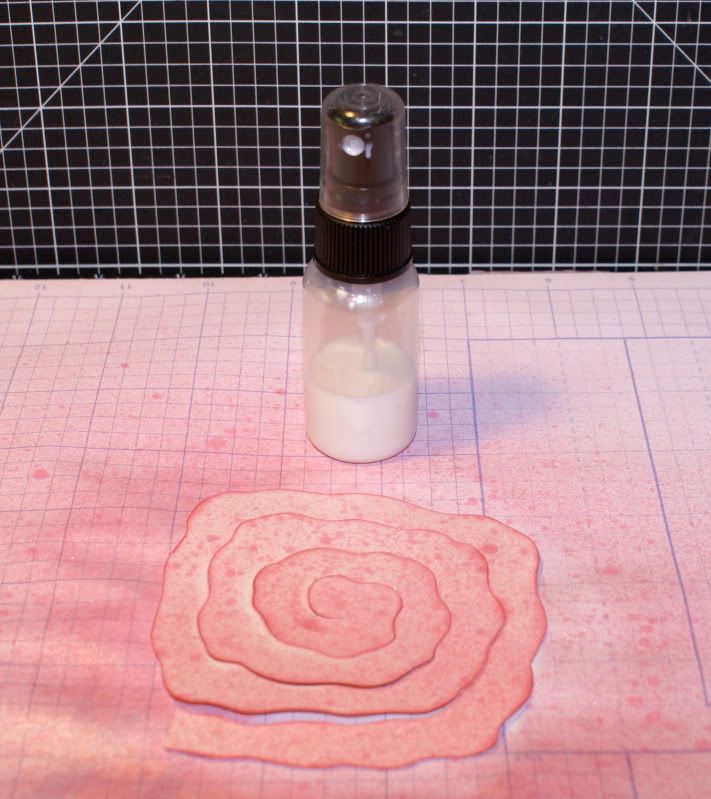
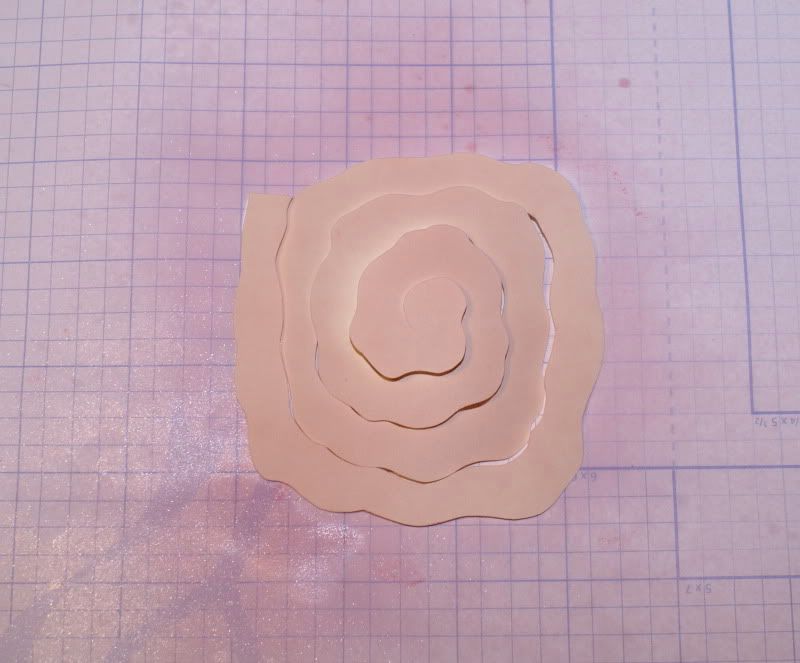
Start with a 4x4 square and hand cut a spiral. i did NOT draw it first....pencil lines showed. I started with a piece of Colonial White CS and dyed it. You can start with any color CS you choose to create your flower with. I am in the dying paper and flowers mode....so I created my own look using Re-inker/rubbing alcohol spray.

Photobucket  

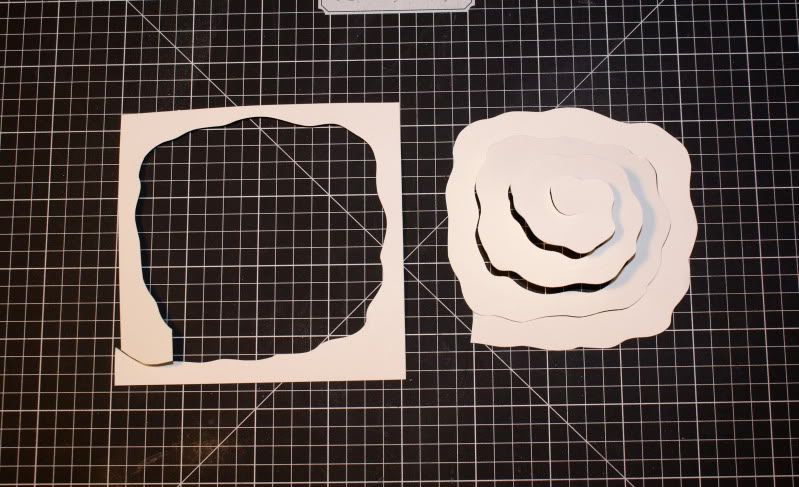
Cut off square edges.

Photobucket 

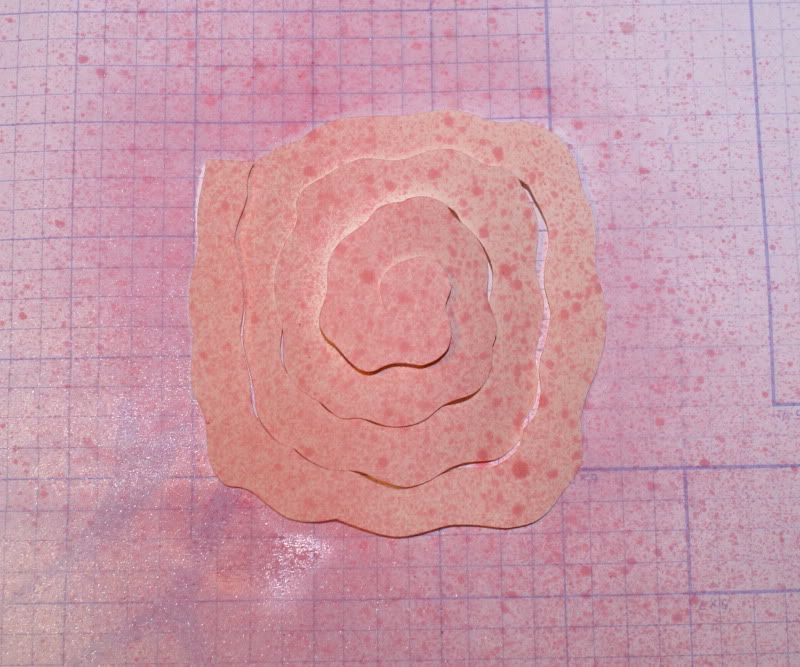
I sprayed mine first with Baby Pink reinker/rubbing alcohol  

Photobucket

Then again with just a couple sprays of Hollyhock 
Photobucket 
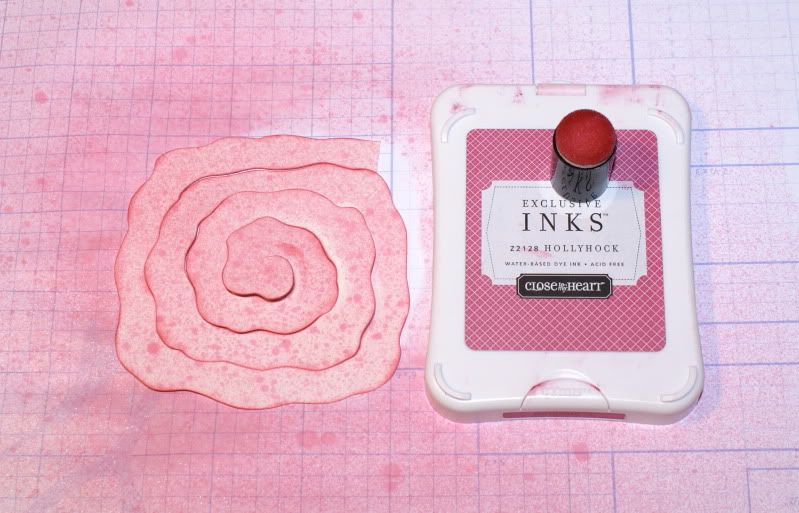
 Sponged the edges with Hollyhock ink 

Photobucket 

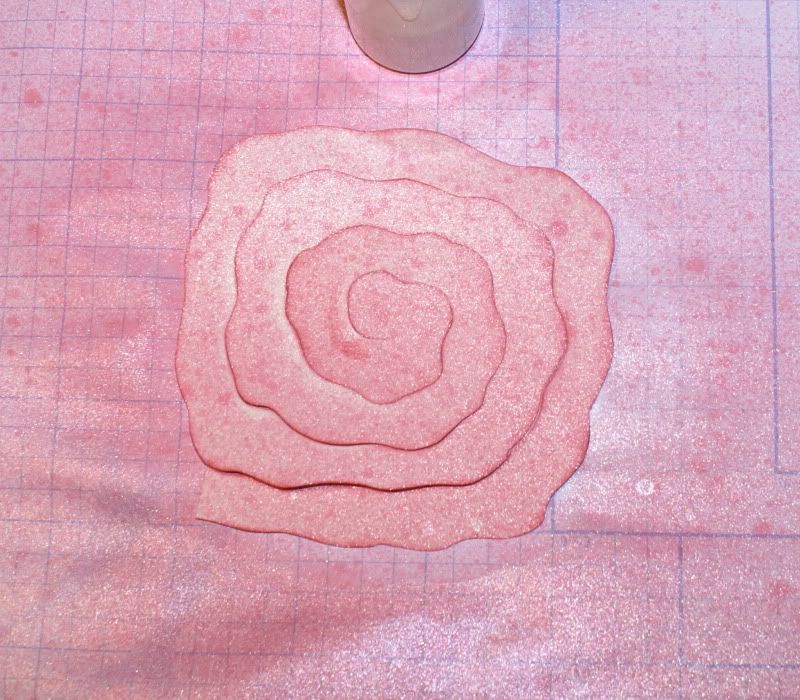
sprayed with shimmer mist (rubbing alcohol and pearl paint)  
Photobucket  

better pic of the shimmer!
Photobucket 

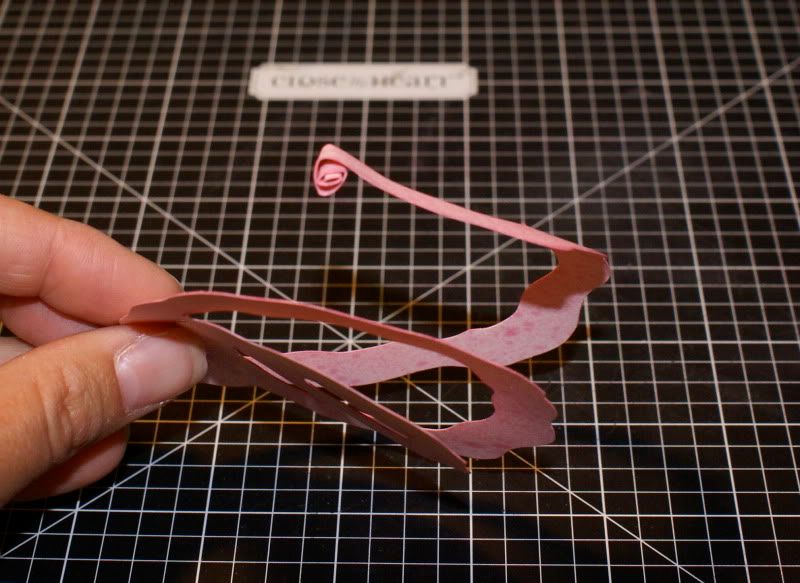
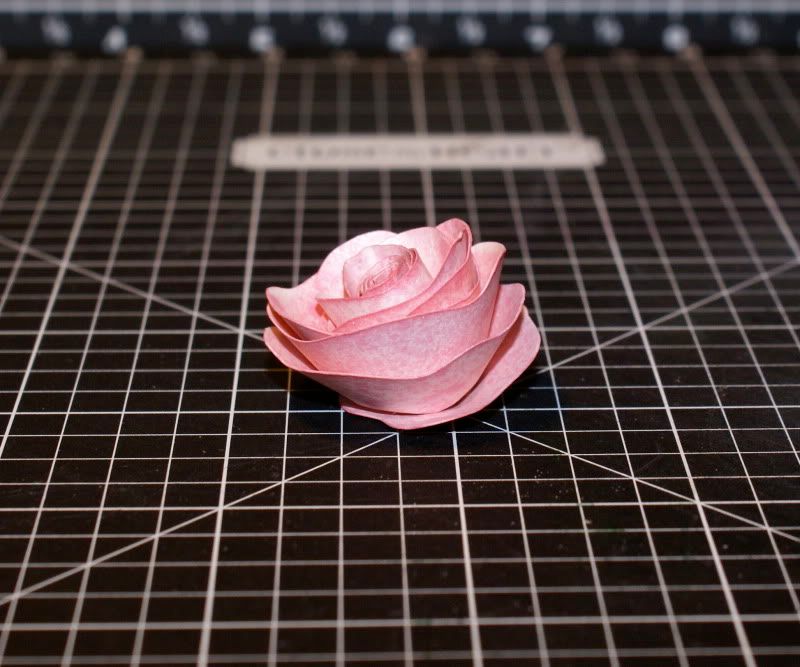
Start rolling in outer edge  
Photobucket 

continue till edges are all rolled up. At this point you should only have the center of the swirl left. It will be about 1/2 - 3/4 inch around. This is what you will put your liquid glass on (or other adhesive) and adhere the bottom edges of your flower to.
Photobucket  

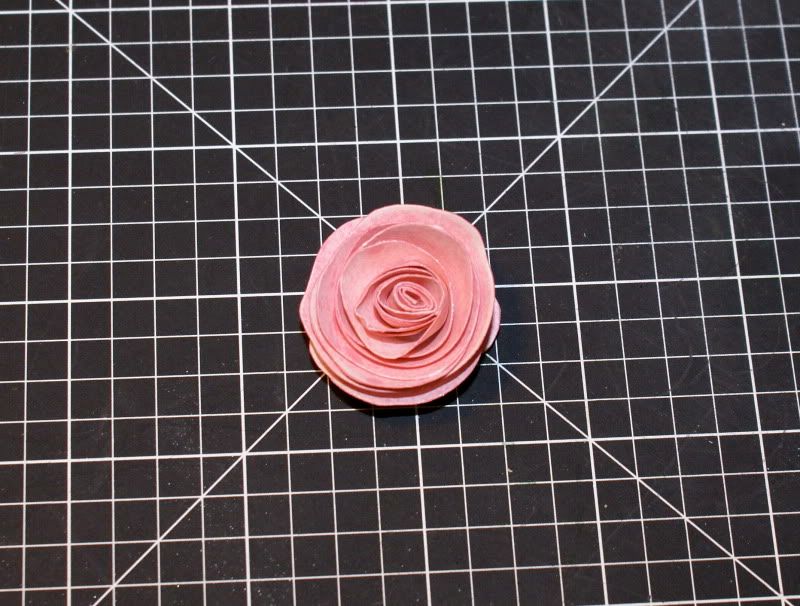
At this point, you can fluff as desired and add to your projects, OR you can continue on as I did and smoosh it so it lays a bit flatter.....

Photobucket 

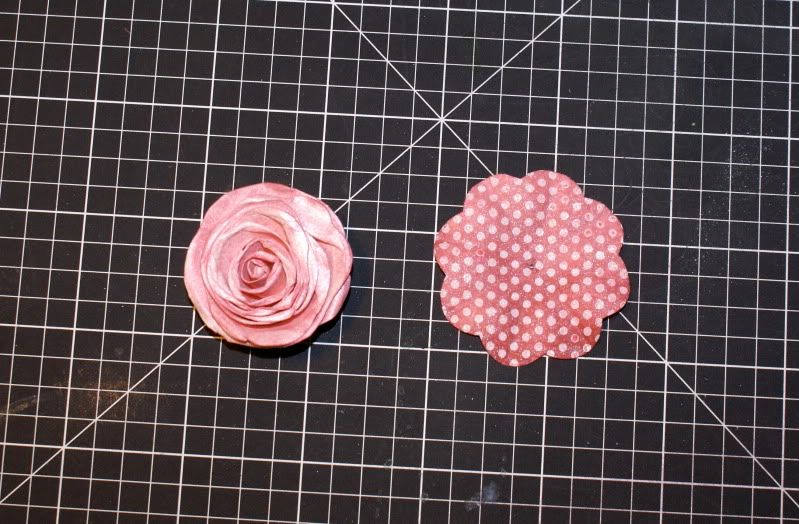
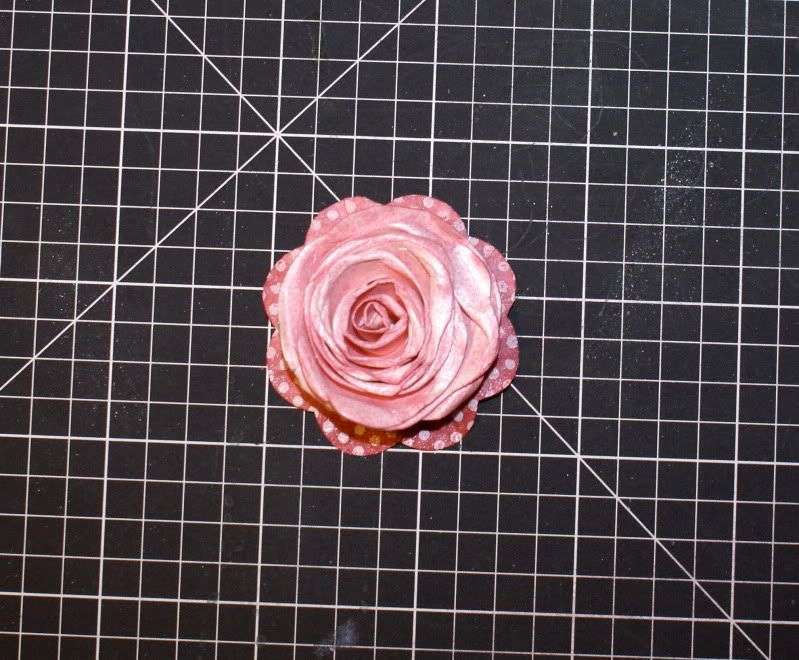
I sprayed mine again and again with the shimmer mist and smooshed and rolled and seperated the edges outward as I sprayed until I got the look and height that I wanted. I put it on top of a bloom that I sprayed Hollyhock and embossed and was finished.  

Photobucket  

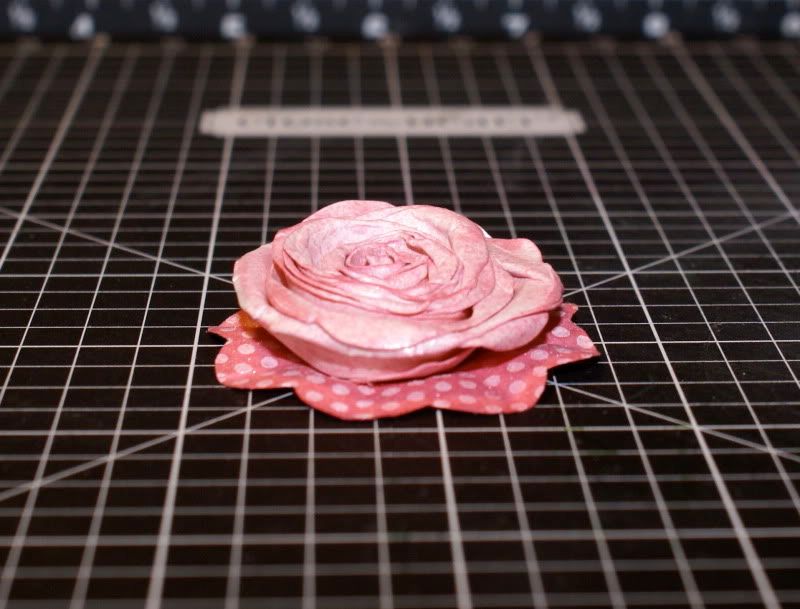
I did not put the original flower onto an embossed bloom, but for the tutorial, I used one.

Photobucket  

Finally, a smooshed flower ready to put on any paper project that you create!!

Photobucket

Supplies used on this card are all CTMH unless noted:

Paper: That's Amore', Hollyhock CS, Olive CS and Blush CS
Stamps used: Card Chatter and It's a Buzz
Inks: Hollyhock ink pad, Staz-on white ink pad, Hollyhock and Baby Pink Reinker
Embellishments: Spring Blossom Just Blooms and Clear Scalloped Card from CTMH


Thanks for stopping by!!  

I hope that I have inspired you to check out Jeanette's Blog and to create these beautiful flowers to enhance any project that you are working on!  

Happy Stampin' and Scrappin'!!

Jen

Saturday, May 1, 2010

Tutorial for embossing on paper flowers.....

I wanted to share with you a super fun way to spruce up your paper flowers! I am still on the emboss resist kick from a couple of weeks ago and was trying to come up with other ways to use this technique. This is what I came up with. Although, it really is not an emboss resist technique.....started out to be, and can still be. But I like this version better.

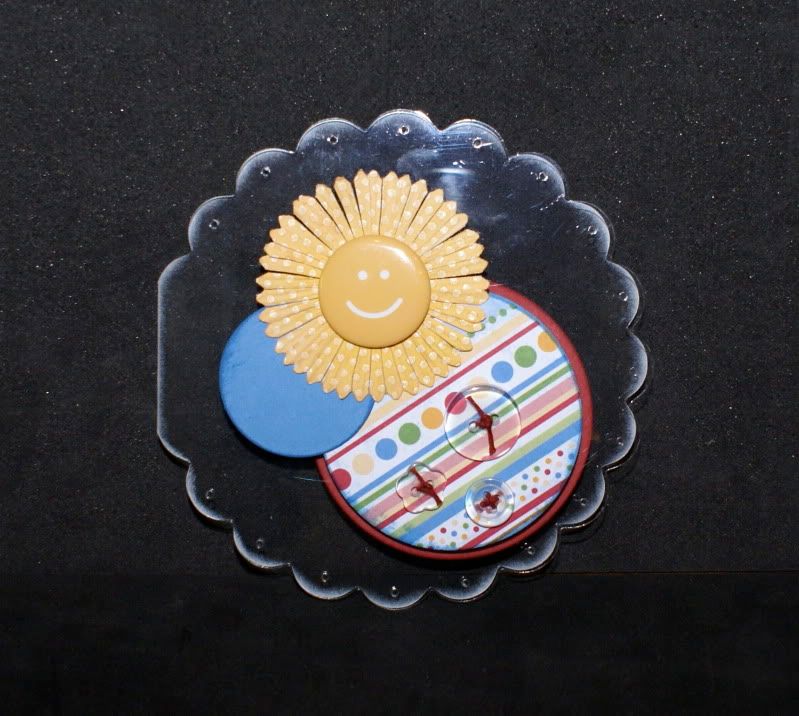
This is the Scalloped Circle Clear Card that CTMH sells along with the square clear card that I posted earlier. Once again, I am SO loving these cards!!! I feel like there is no end to the possibilities with these sweet cards!! My tutorial will show you how you can create the flower on the front of this card......ENJOY!!

Photobucket

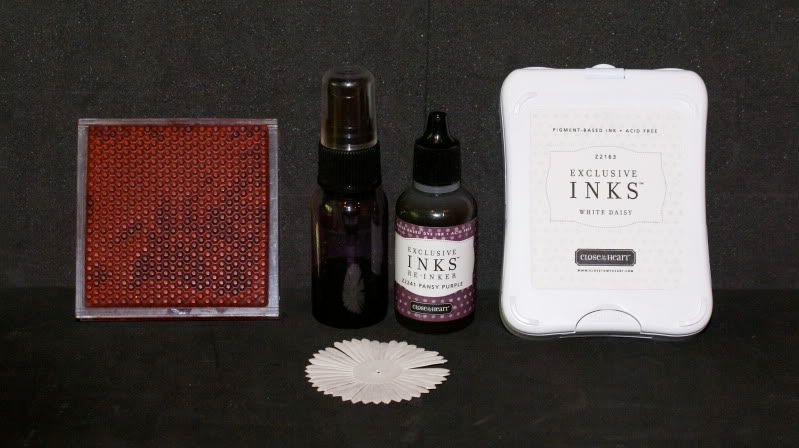
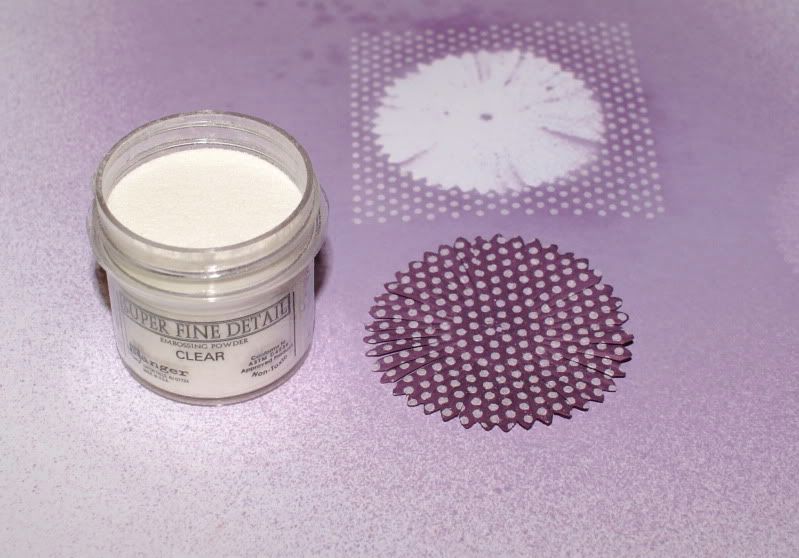
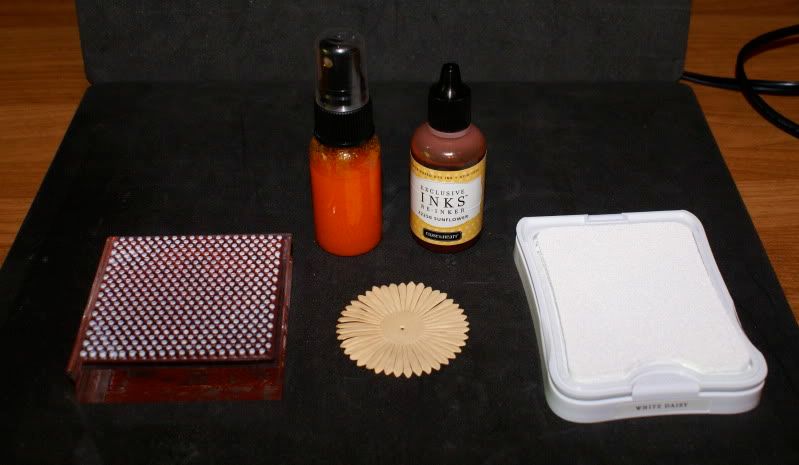
First you will need White Daisy pigment ink, stamp of your choice ( I used Spot on Background for mine), clear detail embossing powder, reinker and rubbing alcohol (mine is mixed in spray bottle)  

Photobucket

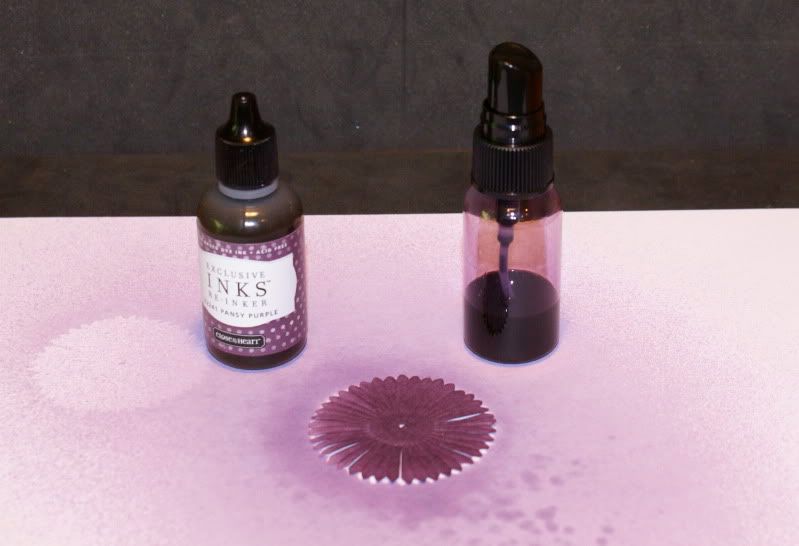
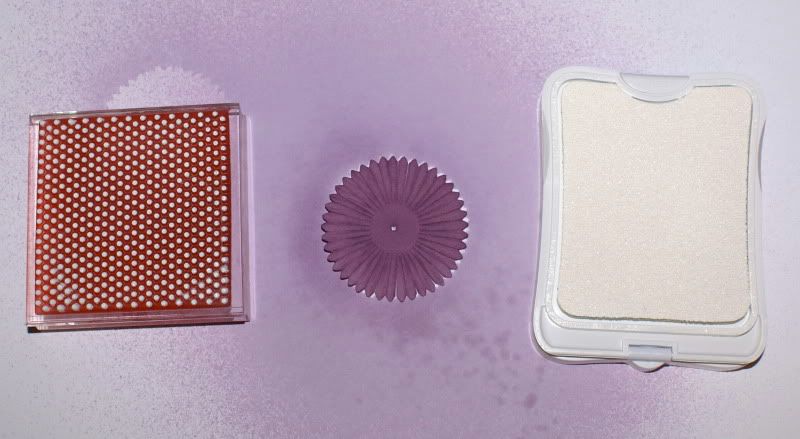
Spray your just bloom with desired color, let dry.

Photobucket 

Stamp with White Daisy pigment ink with stamp of your choice.  

Photobucket 

Immediately after stamping, cover flower with embossing powder, remove excess powder to emboss.  

Photobucket

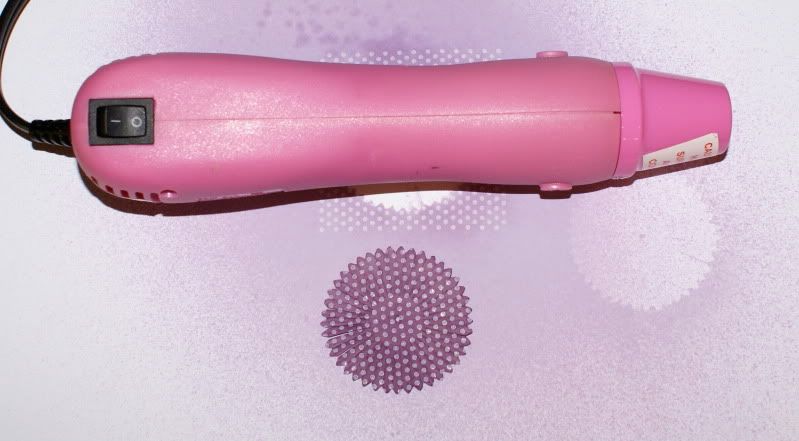
Heat powder just till it melts.....it melts pretty fast. For this flower, you are done!!  

Photobucket 

To create the Sunflower colored flower, I started with the Creme Brulee flower....
Photobucket  

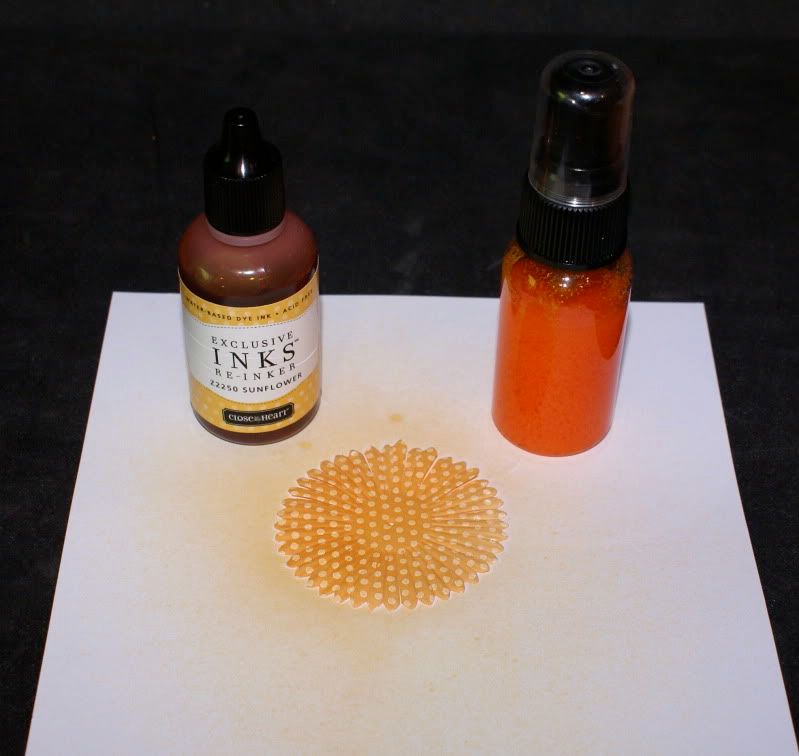
Followed the same steps as above, only added a couple of sprays of Sunflower ink to darken the yellow....  

Photobucket

I changed up my clear card a bit on the inside to include another couple of blooms to cover up the "snot dot" that was showing through the back. Card front (again)  

Photobucket  

Card inside (changed to add flowers) To emboss the Tulip colored flower, just start with the tulip flower and emboss! Does not get much easier than that!!  


Photobucket 

HTH!! Any questions, please feel free to e-mail me! Most of all, HAVE fun playing!! I know I have!!  

Photobucket

Thanks for stopping by!!

I hope that I have inspired you to try this fun technique!! If you don't have the supplies for this project, you can either order them from your favorite CTMH consultant, or go to my website and order them to be delivered straight to your house!!

Supplies needed to create this card are: All supplies CTMH unless noted....

Paper: Animal Cookies
Stamp: Spot on Background
Ink: White Daisy Pigment Ink, Dutch Blue, Tulip
Reinker: Sunflower
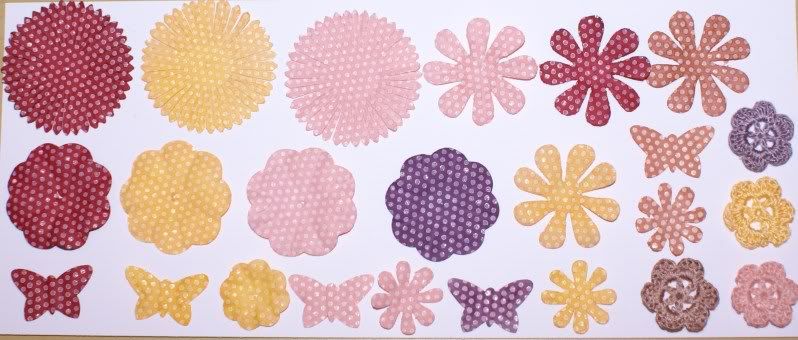
Embellishments: Spring Blossom Just Blooms, Clear Buttons, Cranberry Waxy Flax and Badge Buttons
Close to my Heart Clear Scalloped Circle card
Stazon White Powder (not CTMH)


Happy Stampin' and Scrappin'!!


Jen
CTMH now has CLEAR Cards!!!

These are SO stinkin' cool, I can't hardly stand it!!  The cards come in a pack of 8.  You get 4 scalloped circle cards and 4 square cards along with 8 clear envelopes.  All this for just $8.95!!!  Check them out this weekend on my website in the BRAND SPANKIN' NEW Summer Idea Book!!  

There are so many possibilities with these cards!  I have only just begun.....


Inside of the card.....  


While I would like to take full credit for this card, I can't!  CTMH provided consultants with instructions on creating a 4 1/4 x 5 1/2 card that used these papers and stamp set.  I scraplifted the idea and shrunk it and created one for the clear card.  The original looks like this......  If you live in the area and would like to create the card below.....give me a call and we can schedule a home party for you and your friends!!


I loved that I could follow the same card pattern for this card and just shrink the papers a bit to fit the clear card.  The clear card turned out so cute and much more dimensional looking too!

Supplies used for the cards above: 

All products are CTMH!!

Paper: Splendor 
Stamps: Over the Rainbow
Embellishments: Colonial White buttons
Inks: Desert Sand, Autumn Terracotta and Crystal Blue
Clear Cards are available NOW in the Summer Idea Book!!

Thanks for stopping by!  

I hope that I have inspired you to try the clear cards!!  They are so fun and easy to create with!  Imagine receiving one of these in the mail......

Stay tuned for another clear card AND a tutorial on how you can emboss on paper flowers!!

Happy Stampin' and Scrappin'!!

Jen