Showing posts with label clear buttons. Show all posts

Sunday, April 3, 2011

April Scrapbook Group Pages using Miracle

Happy Sunday All!!  I thought I would share the 6 pages that my scrapbook groups will be making this month.  All 6 pages are created using the sweet papers from "Miracle".  I added Clear Buttons as an "extra" embellishment that group can purchase to add to their pages if they would like, but they are not necessary to complete the pages.  

I was pretty happy with the way these turned out.  One thing I love about this paper pack is it does not scream boy or girl or really anything too specific.  But after the first 4 pages were done, I had a hard time coming up with the last 2, which ended up being my favorite pages of all 6!  Funny how it all works out in the end.  I will focus this week on finding pictures to put on these pages this week.  I have a few ideas.....just need to search through the endless files of photos on my computer and if I can't find any there, I have plenty of albums to search through......lol 


Is it just me or does this pic look smaller than usual?  Must be that it is longer than my card pics.  HHMMM  If you would like to see it a bit larger, just click on it.  These pages look a bit odd without the photos......but will look super cute when all the blanks are filled in!  The Pinwheels were created using the stamp set that is included in the "Miracle" Workshop on the Go Kit.  The Kraft Color Ready Borders are ALSO included in the WOTG kit.  


This 2nd set of pages uses the coordinating "Miracle" Stickease.  My scrapbook group kits always include the coordinating stickease.  The first 2 pages that we create focus on stamping and a new technique.  The last 4 pages that we create focus on using the coordinating stickease and an added embellishment that is not included in the WOTG kit.


The last 2 pages are my personal favorites!  The LO's for all 6 pages were taken from the Magic Book.  This is a LO that I have been wanting to make, but was not sure about all the punched circles.  Since CTMH came out with the 1 1/4" circle punch, it made creating this page SO much easier!!  Inside each punched circle is a Clear Button.  

Supplies used: 
Paper: Miracle WOTG Kit
Stamp set: Miracle Workshop on the Go stamp set
Inks: Heavenly Blue, Chocolate, Sweet Leaf, Desert Sand
Embellishments: Kraft Color Ready Borders, Miracle Level 2 Stickease, Clear Buttons
Tools: CTMH 1 1/4" Circle Punch

Thanks OH SO much for stopping by!!   If you live in the Omaha area and would like to create these pages, our group meets each 3rd Friday of the month at 9am or 7pm.  There is ALWAYS room for guests!!  Contact me to reserve a spot for you and a friend!

Hope this has inspired you to visit one of my scrapbook groups OR find a local CTMH consultant to see what kind of classes they offer!

Happy Scrapping and Stamping!!

Jen


Saturday, May 1, 2010

Tutorial for embossing on paper flowers.....

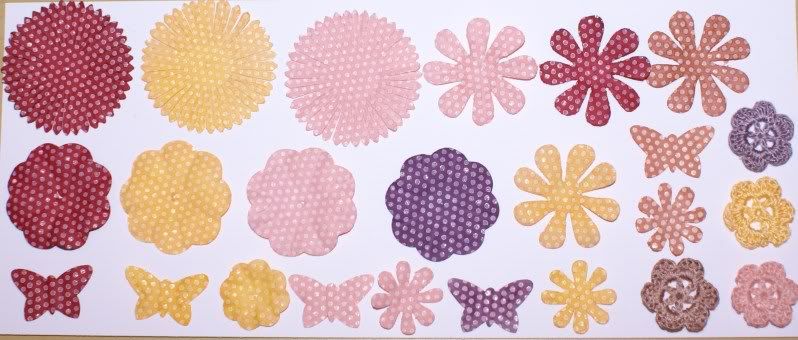
I wanted to share with you a super fun way to spruce up your paper flowers! I am still on the emboss resist kick from a couple of weeks ago and was trying to come up with other ways to use this technique. This is what I came up with. Although, it really is not an emboss resist technique.....started out to be, and can still be. But I like this version better.

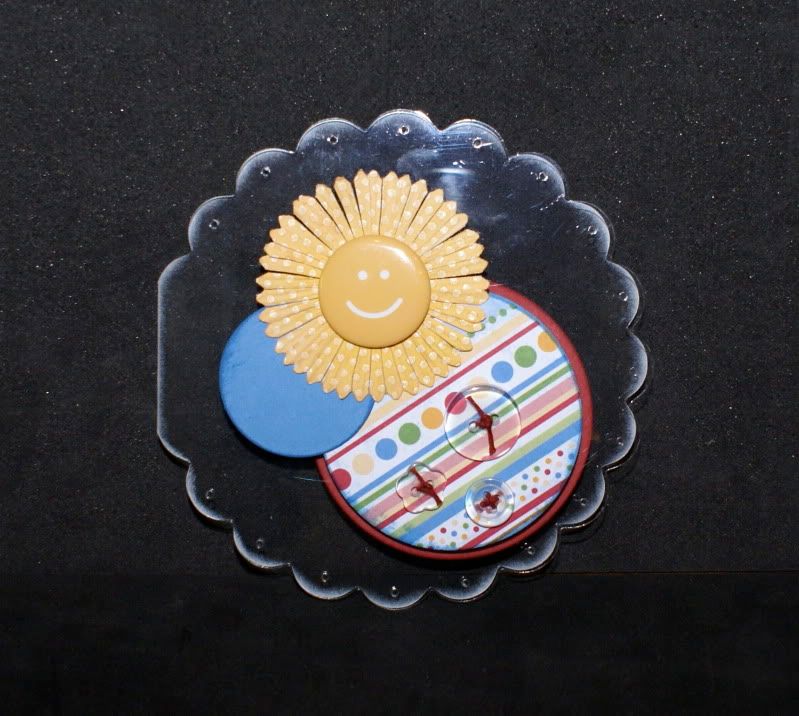
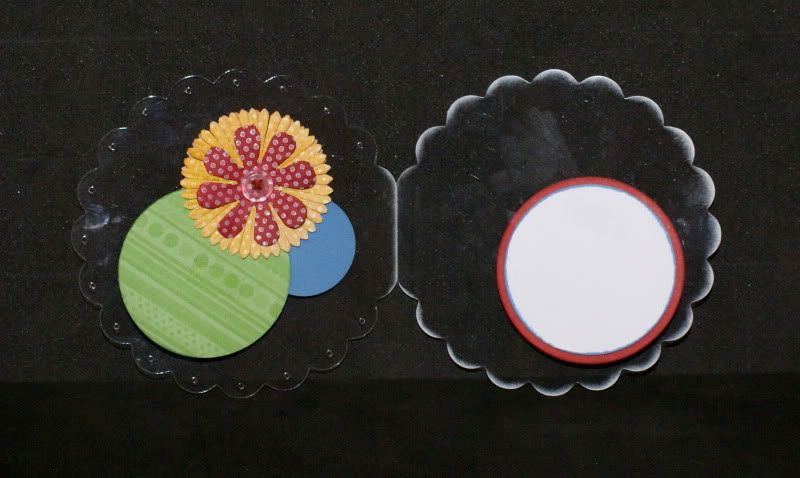
This is the Scalloped Circle Clear Card that CTMH sells along with the square clear card that I posted earlier. Once again, I am SO loving these cards!!! I feel like there is no end to the possibilities with these sweet cards!! My tutorial will show you how you can create the flower on the front of this card......ENJOY!!

Photobucket

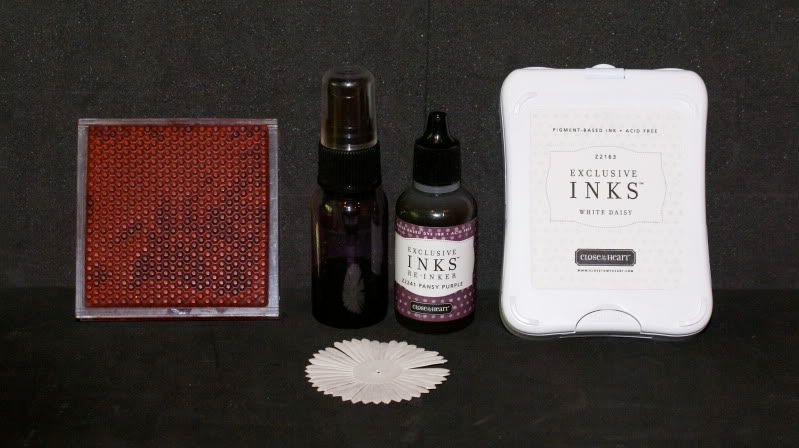
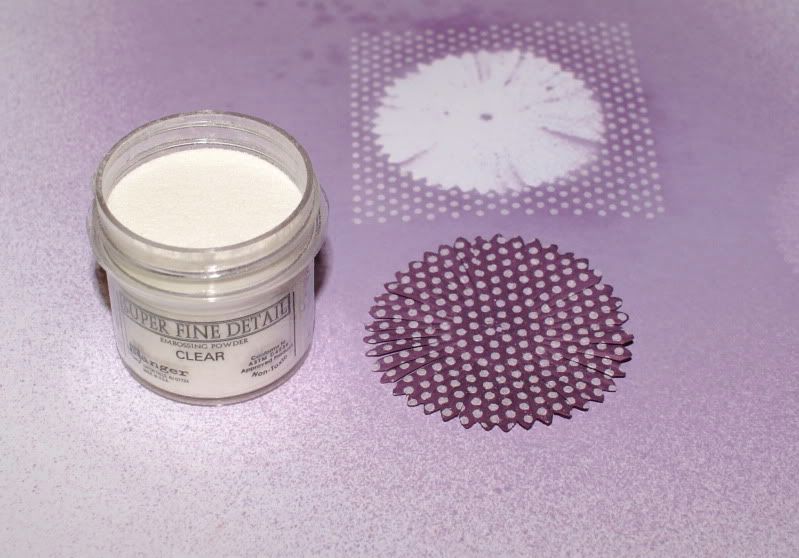
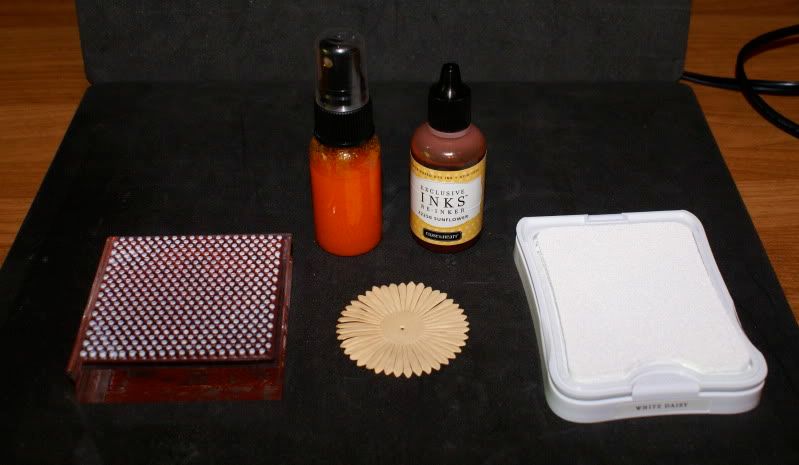
First you will need White Daisy pigment ink, stamp of your choice ( I used Spot on Background for mine), clear detail embossing powder, reinker and rubbing alcohol (mine is mixed in spray bottle)  

Photobucket

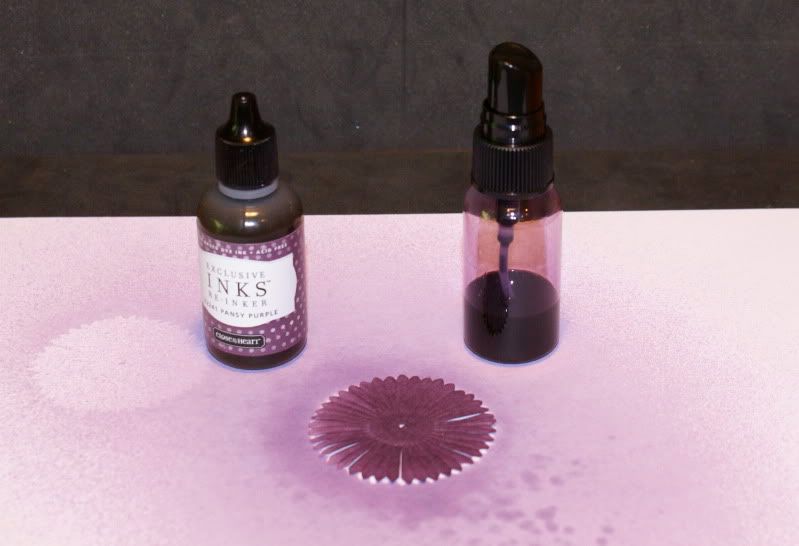
Spray your just bloom with desired color, let dry.

Photobucket 

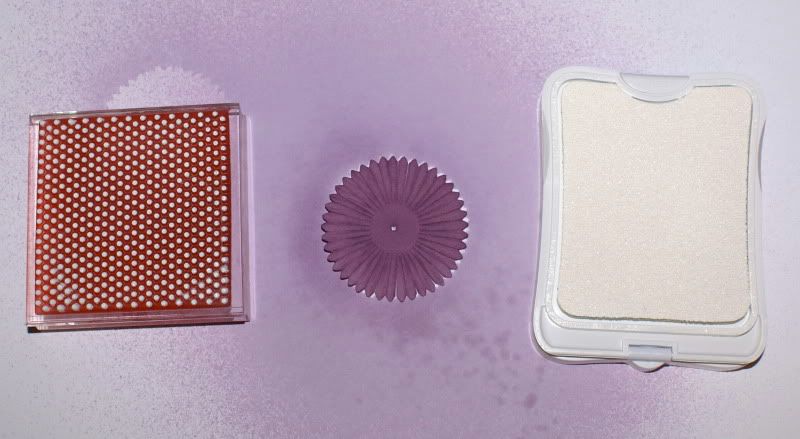
Stamp with White Daisy pigment ink with stamp of your choice.  

Photobucket 

Immediately after stamping, cover flower with embossing powder, remove excess powder to emboss.  

Photobucket

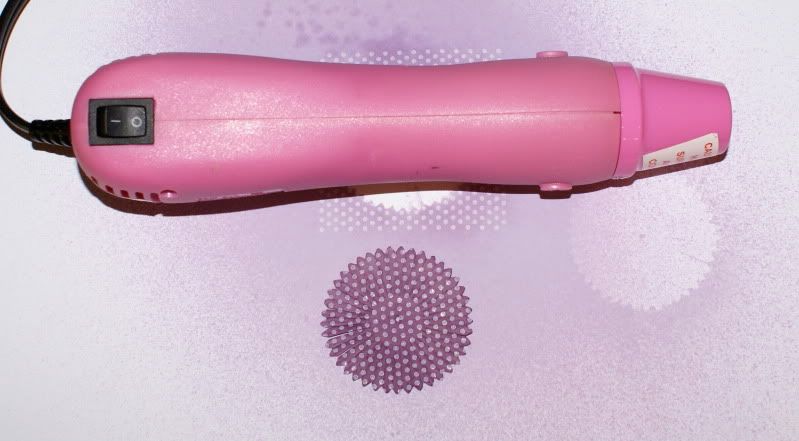
Heat powder just till it melts.....it melts pretty fast. For this flower, you are done!!  

Photobucket 

To create the Sunflower colored flower, I started with the Creme Brulee flower....
Photobucket  

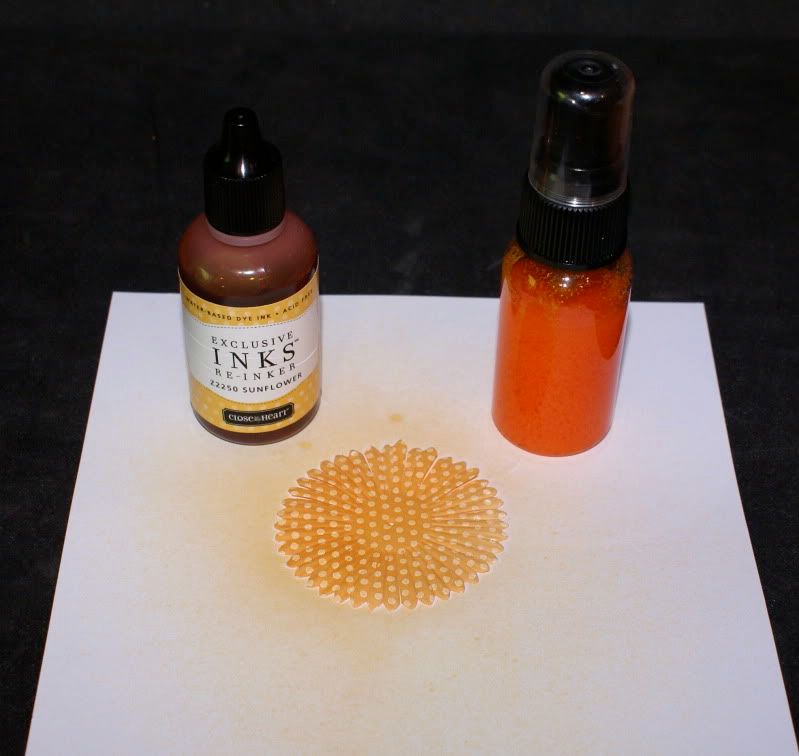
Followed the same steps as above, only added a couple of sprays of Sunflower ink to darken the yellow....  

Photobucket

I changed up my clear card a bit on the inside to include another couple of blooms to cover up the "snot dot" that was showing through the back. Card front (again)  

Photobucket  

Card inside (changed to add flowers) To emboss the Tulip colored flower, just start with the tulip flower and emboss! Does not get much easier than that!!  


Photobucket 

HTH!! Any questions, please feel free to e-mail me! Most of all, HAVE fun playing!! I know I have!!  

Photobucket

Thanks for stopping by!!

I hope that I have inspired you to try this fun technique!! If you don't have the supplies for this project, you can either order them from your favorite CTMH consultant, or go to my website and order them to be delivered straight to your house!!

Supplies needed to create this card are: All supplies CTMH unless noted....

Paper: Animal Cookies
Stamp: Spot on Background
Ink: White Daisy Pigment Ink, Dutch Blue, Tulip
Reinker: Sunflower
Embellishments: Spring Blossom Just Blooms, Clear Buttons, Cranberry Waxy Flax and Badge Buttons
Close to my Heart Clear Scalloped Circle card
Stazon White Powder (not CTMH)


Happy Stampin' and Scrappin'!!


Jen