Showing posts with label layering circle framelits. Show all posts

Tuesday, March 21, 2017

March Paper Pumpkin Alternate Project - Card

March Paper Pumpkin Alternate Project

Dimensions: 
Very Vanilla CS - 4 1/4 x 11 (score at 4 1/4), 3 3/4 x 3 3/4, 2 1/4 x 2 1/4 (circle)
Peekaboo Peach CS - 4 x 4
Sweet Sugarplum CS - 2 1/2 x 2 1/2 (scalloped circle)


These were SUPER fun cards to create with the March Paper Pumpkin Kit, as an alternative project.  I just LOVE how the bunny ended up looking like a lion/kitty when I left off the bunny ears and used the mouth with the heart shaped nose.  The scalloped circle ended up looking like a lion's mane.  

I used the large bunny ears as petals and the Hexagons Embossing folder made it look like it was quilted.  The first one I created was the Peekaboo Peach card, but when I was creating the Sweet Sugarplum card, I thought I would see what embossing it would look like and ended up LOVING it!!  


Make sure to "SUBSCRIBE" to my YouTube channel to receive notifications when I post new videos as I am adding 4-5 new videos each week!!  In addition to the video tutorial I made, I also have printable/downloadable instructions below the Supplies Used.  Just click on the "Supply List" to download and print.

Stampin' Up! Supplies Used: 


Don't forget, if you place an order that is less than $150, to use March's Hostess Code RCXNW7TW on my Stampin' Up! website.  I send out thank you gifts at the end of each month to those who order from me!!  Stay tuned for a customer loyalty program coming in the next few weeks!  I have LOTS of new and fun stuff coming up that you are going to LOVE!! 


Thanks SO much for stopping by!!

Happy Stampin' Up!!

Jen

Thursday, March 16, 2017

FB Live Pretty Kitty Purse

FB Live Pretty Kitty Purse


Dimensions: 
Whisper White CS - 7 x 10
Blushing Bride CS - 2 1/4 x 2 1/4
Shimmery White CS - 2 1/4 x 2 1/4
Subtles Designer Series Paper, Blushing Bride - 2 1/2 x 5 1/2, 2 1/2 x 2 3/4

For complete instructions on how to create this purse using the Gift Bag Punch Board, please watch the video below.  


Isn't this just the sweetest little purse?  Of course, I think that the little kitty from the Pretty Kitty stamp set makes it that much cuter!!  I ran across a tutorial on Pinterest to create this bag, but it was for a backpack.  SO I added some Blushing Bride Stitched Satin Ribbon at the top to create a little purse, instead of making it into a backpack (which was cute too!).  

Did you know that Stampin' Up! carries this sweet little print in their Designer Series Paper Stacks?  I just LOVE these paper stacks and LOVE that they come in ALL of the colors that SU! has.  The are SO versatile and the prints are perfect for cards and 3D projects too.  

I used the Gift Bag Punch Board to create this little cutie!!  When I was searching Pinterest for inspiration, I searched specifically for something that used the Gift Bag Punch Board, but that used it in a different way from how it was created to be used.  I cannot remember where I found the tutorial for the original backpack, but if you search Pinterest, I am sure you will find it!!  


Make sure to "SUBSCRIBE" to my YouTube channel to receive notifications when I post new videos as I am adding 4-5 new videos each week!!  Today's project is best viewed by video.  You can even grab your supplies and follow along as I create, just like I did when I found the original tutorial!!

Stampin' Up! Supplies Used:


Don't forget, if you place an order that is less than $150, to use March's Hostess Code RCXNW7TW on my Stampin' Up! website.  I send out thank you gifts at the end of each month to those who order from me!!  Stay tuned for a customer loyalty program coming in the next few weeks!  I have LOTS of new and fun stuff coming up that you are going to LOVE!! 


Thanks SO much for stopping by!!

Happy Stampin' Up!!

Jen


Friday, March 10, 2017

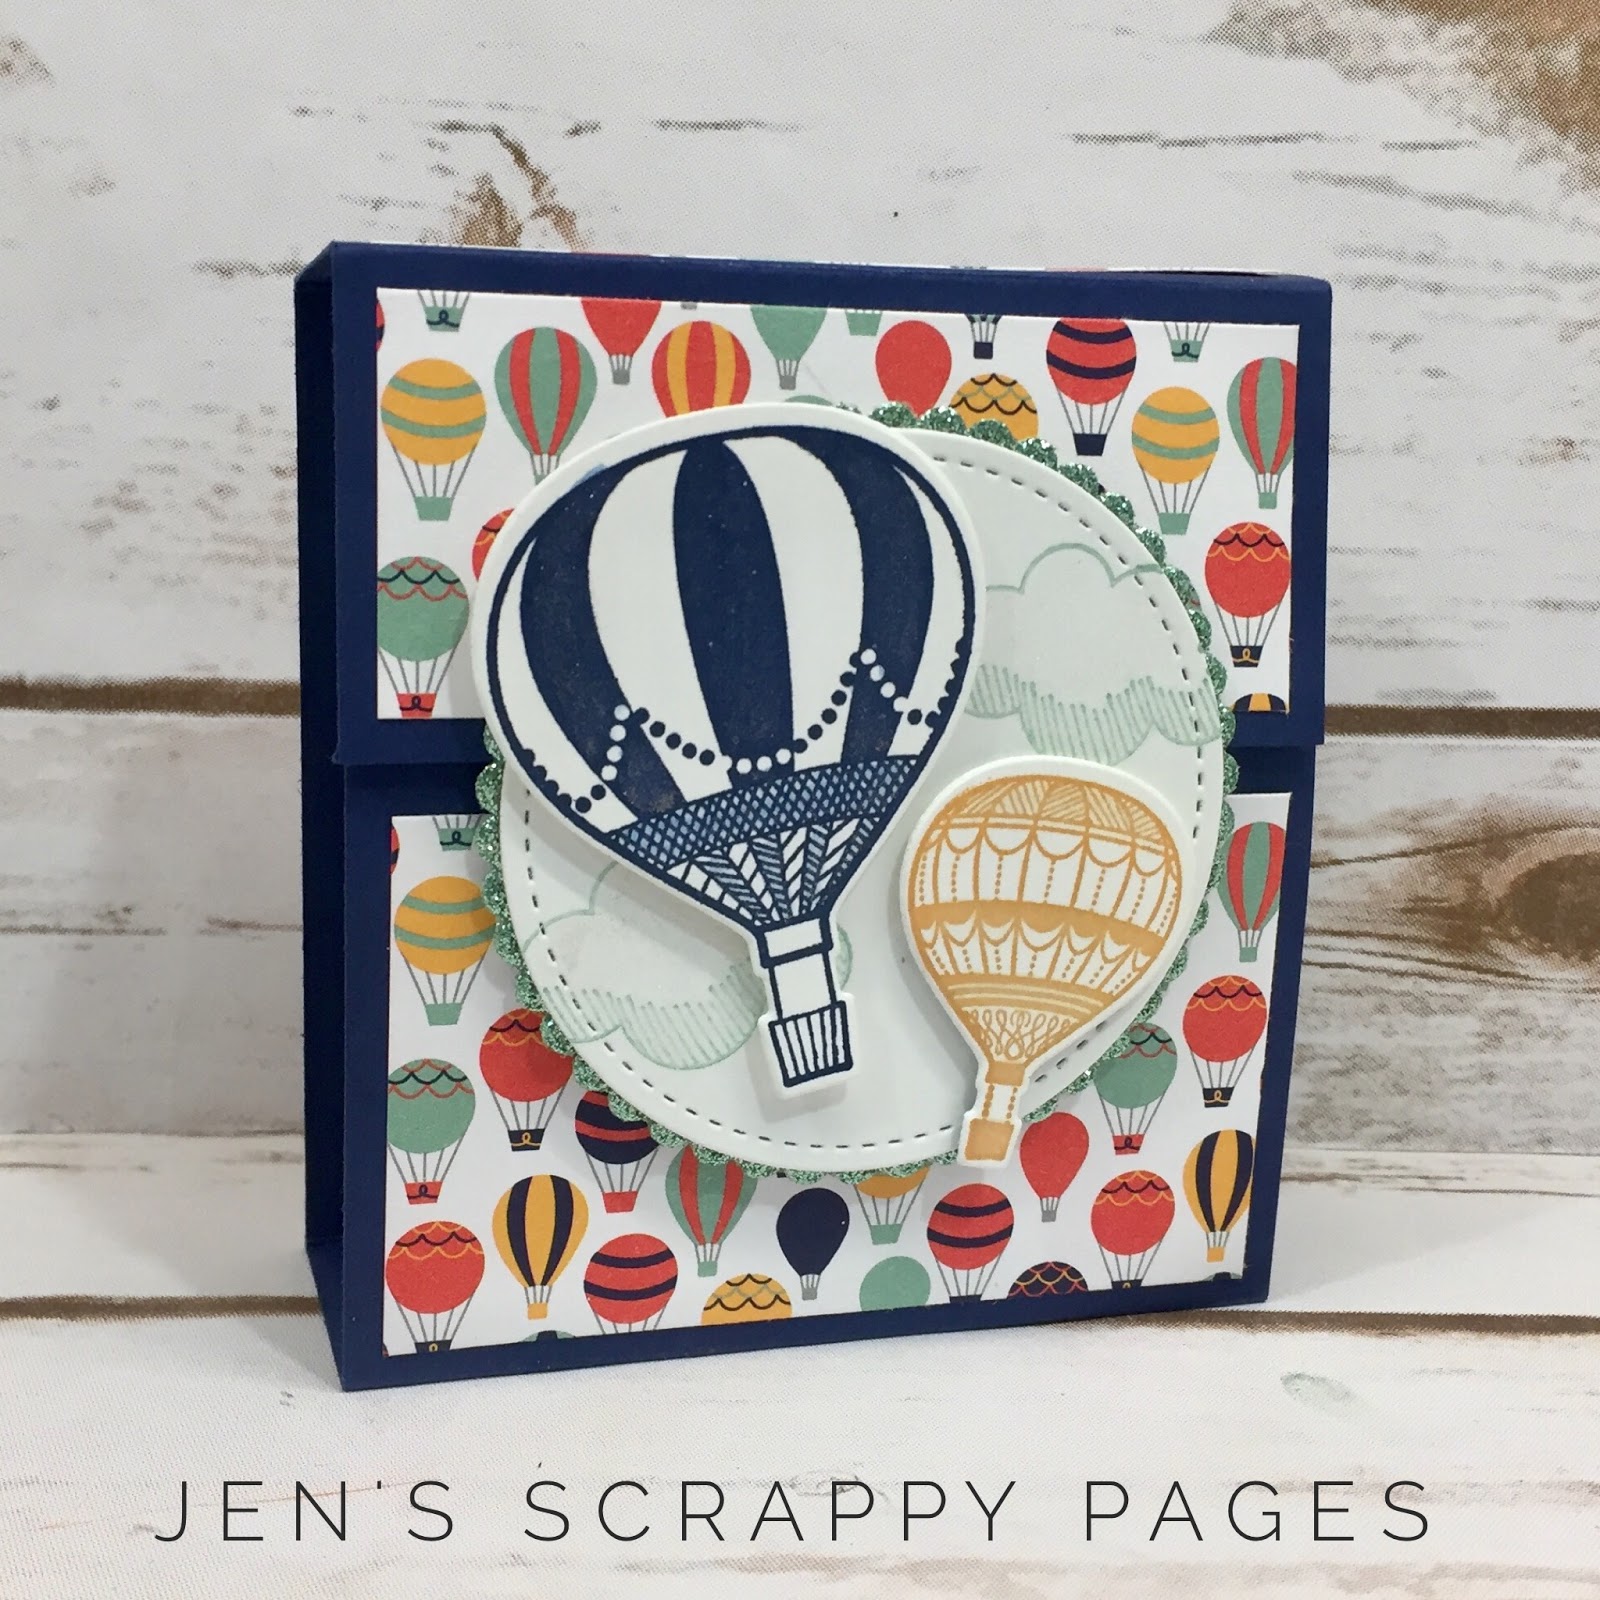
Up & Away Tea Bag Holder

Up & Away Tea Bag Holder

Dimensions: 
Night of Navy CS - 3 x 11, 3 x 4
Whisper White CS - 2 3/4 x 2 3/4
Carried Away DSP - 3 x 3 3/4, 3 x 1 3/4, 3 x 1 1/4, 3 x 1 
Mint Macaron Glimmer Paper - 2 3/4 x 2 3/4


Isn't this just the CUTEST little Tea Bag Holder ever??!!  I was browsing Pinterest for a 3-D project and ran across the tutorial for this over on the Pootles Papercraft website.  I absolutely fell in love with it and decided it would be for today's project!!  

The original tutorial for the envelopes that hold the tea bags used the Envelope Punch Board, but I don't have it.  I did however have the Gift Box Punch Board and noticed that it had the same punch.  SO with a little creative measuring, I was able to use Gift Box Punch Board!!  YAY ME!!  LOL  I used the Carried Away DSP in the SAB catalog along with the Lift Me Up stamp set and Up & Away Thinlits Dies.  LOVE LOVE LOVE this set!!!  When you purchase the Lift Me Up bundle, you are under $5 away from earning a FREE Sale-A-Bration item, which can be used to get either the Carried Away DSP OR the Glimmer Paper Assortment Pack where the Mint Macaron Glimmer Paper comes from.  


The video is a bit lengthy, BUT I promise you, it is well worth the time to watch it!!  Make sure to "SUBSCRIBE" to my YouTube channel to receive notifications when I post new videos as I am adding 4-5 new videos each week!!  In addition to the video tutorial I made, I also have printable/downloadable instructions below the Supplies Used. Today's project instructions includes the dimensions, scoring dimensions and a printable supply list.  For complete instructions on how to put this project together, please refer to the video.   Just click on the "Supply List" to download and print.

Stampin' Up Supplies Used: 


Don't forget, if you place an order that is less than $150, to use March's Hostess Code RCXNW7TW on my Stampin' Up! website.  I send out thank you gifts at the end of each month to those who order from me!!  Stay tuned for a customer loyalty program coming in the next few weeks!  I have LOTS of new and fun stuff coming up that you are going to LOVE!! 

Thanks SO much for stopping by!!

Happy Stampin' Up!!

Jen