Showing posts with label Spring Blossom Just Blooms. Show all posts

Wednesday, July 20, 2011

As I PROMISED......A Sneak Peak!!

Where OH where do I begin??  Convention was A-MAZING!!!  OH MY GOODNESS......there is going to be SO much to share over the next several weeks!  Close to my Heart is the BEST and I cannot imagine EVER being apart from this company.

I am patiently waiting for my convention bundles to arrive on my doorstep so I can start playing with the stuff that I did not have from Extravaganza.  And I DO mean PATIENTLY........  In addition to the bundles that were PAID for with my Extravaganza convention credit, I just placed an order for 3 of the WOTG kits and the additional projects that are listed with them.......JUST WAIT till you get your hands on the new Autumn/Winter Idea Book!!!  You are going to LOVE everything in it!

While I am waiting on my goodie box to arrive, I have been busy taking pictures of the art that I had on display inside my booth AND on the display boards outside my area.  My topic was "Adding Brazzle Dazzle to Your Artwork.  YEP you guessed it....BLING!!  My favorite thing to add to my pages, cards and paper crafting projects.

Because I can be a bit mean at times.......I am going to drag this out for a bit and make you keep coming back to check for more.......lol


This first card is a 3x3 and it features Prisma Glitter and a button in our new Bling Assortment.  To make the flower, I started with a Creme Brulee flower from the Spring Blossom Just Blooms Paper Shapes.  I covered the paper flower with Liquid Glass then sprinkled (more like poured) Prisma Glitter over the entire flower.  Shake or tap off the excess and let dry.  The flower becomes a bit more sturdy as the Liquid Glass dries.


This second card is also a 3x3 card that features Prisma Glitter, Pins from the Bling Assortment and NEW Flutter Paper Shapes.  Using the tip of my Liquid Glass container, I ran it around the edges and on the inside "embossed" areas of the butterfly.  I sprinkled Prisma Glitter over it and tapped off the excess. It really does not take much time to dry.  Set it aside for maybe 5 minutes and it should be ready to add to your project.  

Another thing you can do using this technique is to either sponge color onto the edges and embossed lines in the center OR spray the whole butterfly using Rubbing Alcohol and Re-Inker.  Then either use Liquid Glass and Prisma Glitter around the edges OR over the entire butterfly/flower.

The new products that were featured on these 2 cards will be available for purchase August 1st!!  You can either order them from me at www.lovinscrappin.myctmh.com OR from your favorite Close to my Heart rep!  

Want to get a discount on CTMH products or start your OWN business by teaching others how to use the AWESOME products that CTMH offers??  Join my team "Creativity in Motion" and join the Close to my Heart community.  It truly is a MAGICAL company to be a part of!!

Hope this has inspired you to get out your Liquid Glass and Prisma Glitter and have a little fun "Adding Brazzle Dazzle to Your Artwork"!!

Happy Scrapping and Stamping!!

Jen


Saturday, May 1, 2010

Tutorial for embossing on paper flowers.....

I wanted to share with you a super fun way to spruce up your paper flowers! I am still on the emboss resist kick from a couple of weeks ago and was trying to come up with other ways to use this technique. This is what I came up with. Although, it really is not an emboss resist technique.....started out to be, and can still be. But I like this version better.

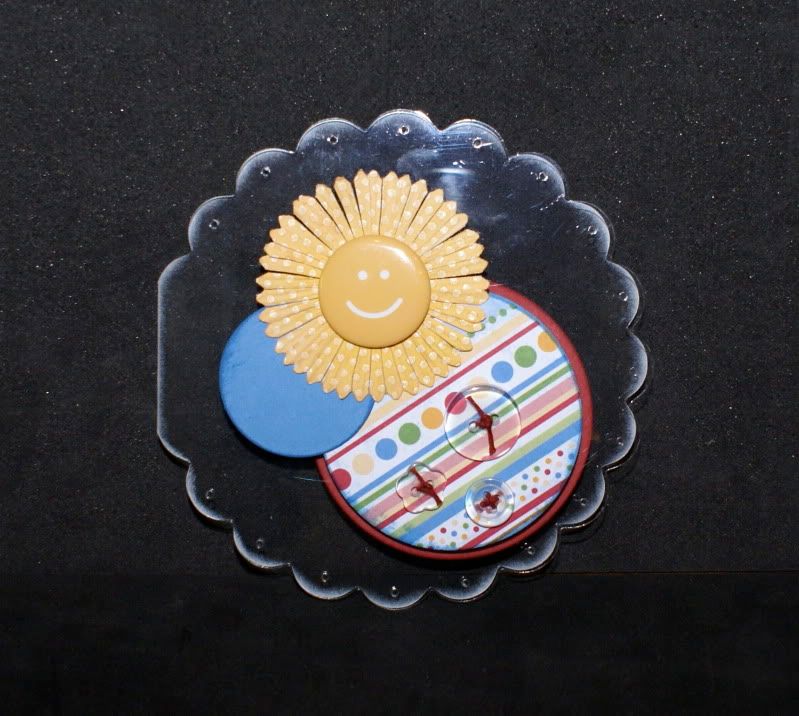
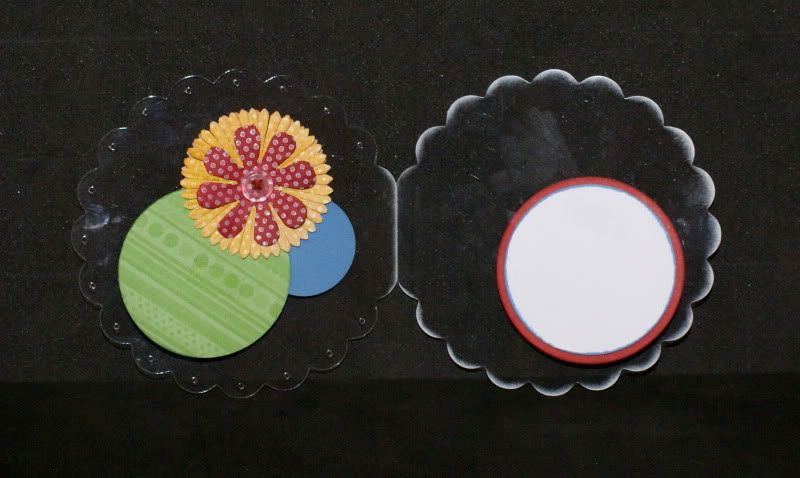
This is the Scalloped Circle Clear Card that CTMH sells along with the square clear card that I posted earlier. Once again, I am SO loving these cards!!! I feel like there is no end to the possibilities with these sweet cards!! My tutorial will show you how you can create the flower on the front of this card......ENJOY!!

Photobucket

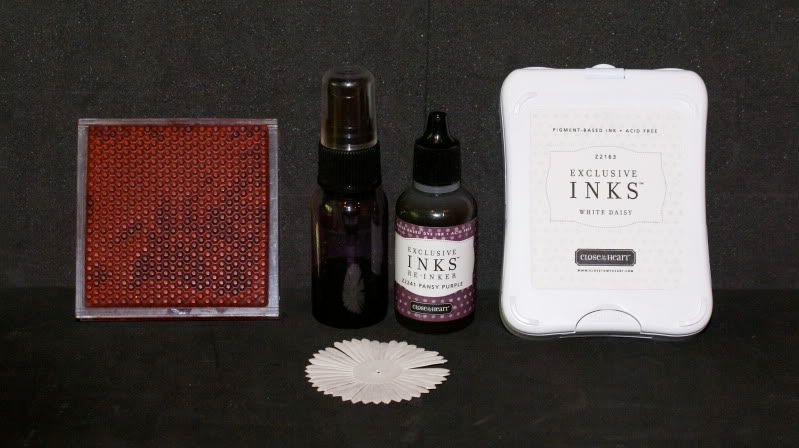
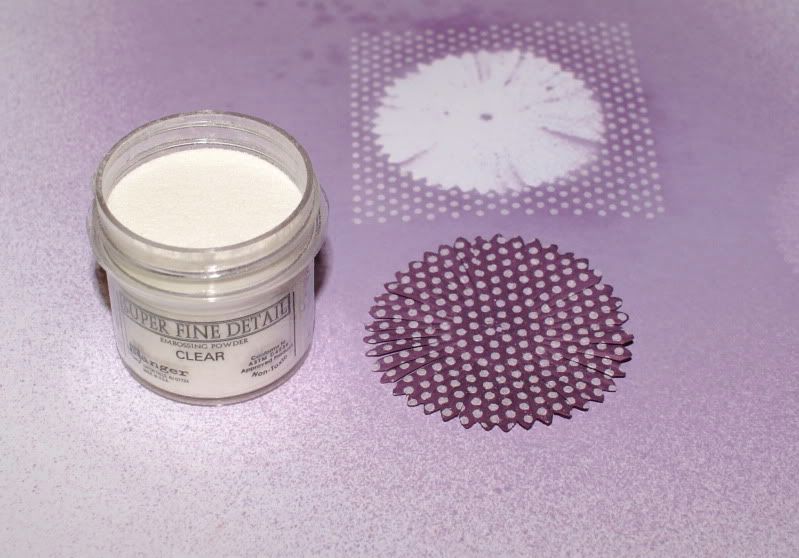
First you will need White Daisy pigment ink, stamp of your choice ( I used Spot on Background for mine), clear detail embossing powder, reinker and rubbing alcohol (mine is mixed in spray bottle)  

Photobucket

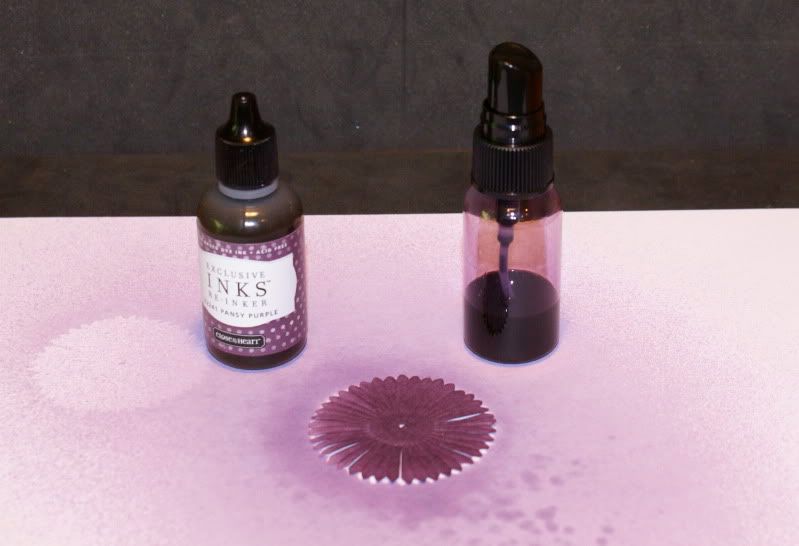
Spray your just bloom with desired color, let dry.

Photobucket 

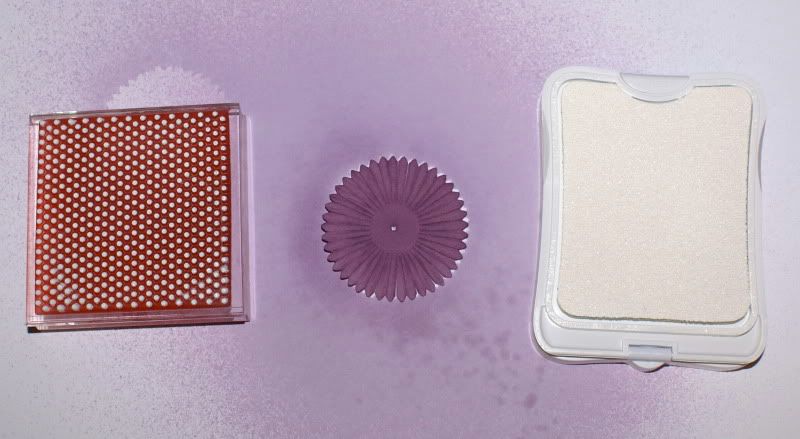
Stamp with White Daisy pigment ink with stamp of your choice.  

Photobucket 

Immediately after stamping, cover flower with embossing powder, remove excess powder to emboss.  

Photobucket

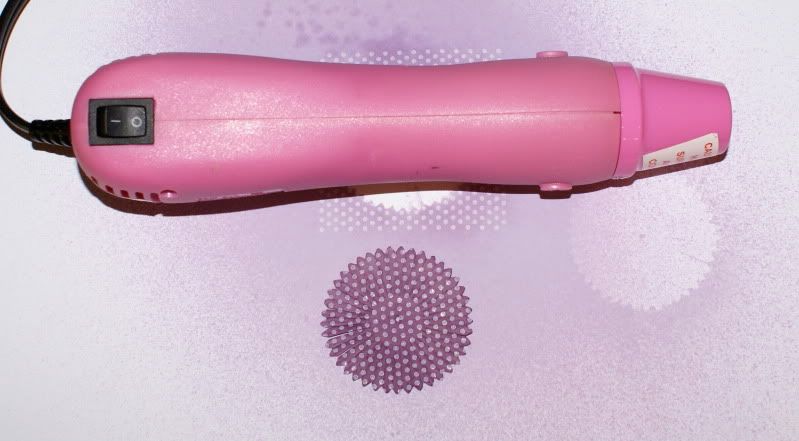
Heat powder just till it melts.....it melts pretty fast. For this flower, you are done!!  

Photobucket 

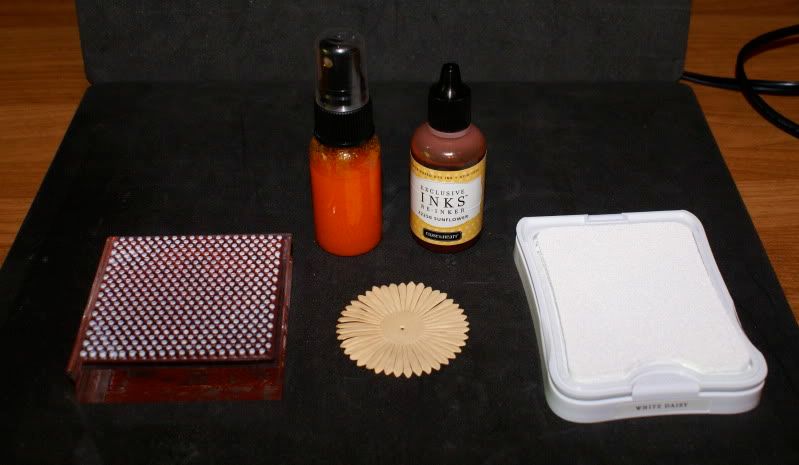
To create the Sunflower colored flower, I started with the Creme Brulee flower....
Photobucket  

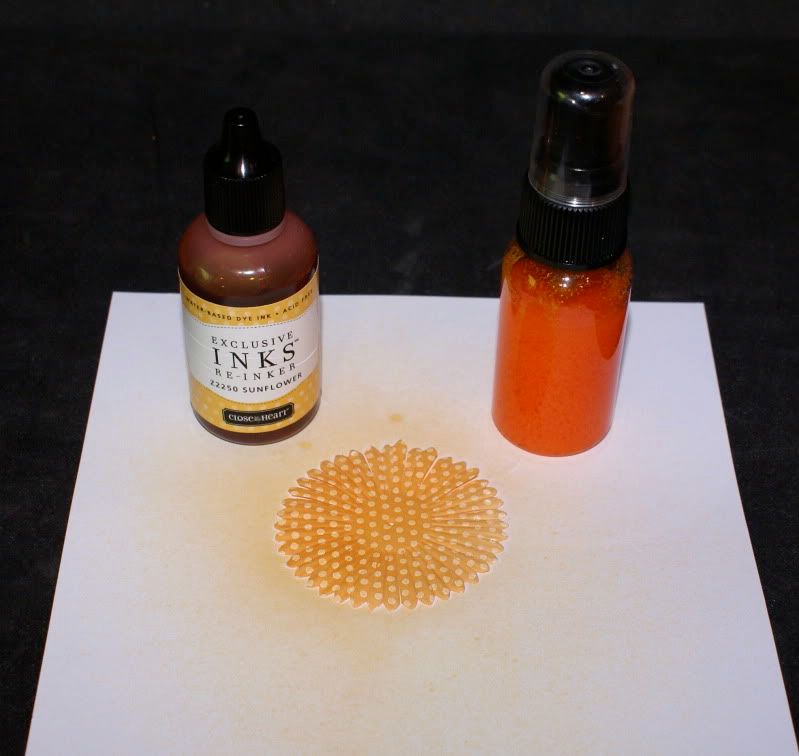
Followed the same steps as above, only added a couple of sprays of Sunflower ink to darken the yellow....  

Photobucket

I changed up my clear card a bit on the inside to include another couple of blooms to cover up the "snot dot" that was showing through the back. Card front (again)  

Photobucket  

Card inside (changed to add flowers) To emboss the Tulip colored flower, just start with the tulip flower and emboss! Does not get much easier than that!!  


Photobucket 

HTH!! Any questions, please feel free to e-mail me! Most of all, HAVE fun playing!! I know I have!!  

Photobucket

Thanks for stopping by!!

I hope that I have inspired you to try this fun technique!! If you don't have the supplies for this project, you can either order them from your favorite CTMH consultant, or go to my website and order them to be delivered straight to your house!!

Supplies needed to create this card are: All supplies CTMH unless noted....

Paper: Animal Cookies
Stamp: Spot on Background
Ink: White Daisy Pigment Ink, Dutch Blue, Tulip
Reinker: Sunflower
Embellishments: Spring Blossom Just Blooms, Clear Buttons, Cranberry Waxy Flax and Badge Buttons
Close to my Heart Clear Scalloped Circle card
Stazon White Powder (not CTMH)


Happy Stampin' and Scrappin'!!


Jen

Wednesday, February 10, 2010

WOW It's been 2 months since my last post!

HOLY SMOKES!! Time sure has flown this past 2 months! And I am ready to slow down and start crafting again. As of next week, I will be a SAHM AGAIN!! WOO HOO!! I have been working 15-30 hours a week for almost a year at our Chrome Enhancements business and have realized that where I really want to be is at home with the kids......Funny how what I thought I wanted turned out to be NOT what I wanted after all!! LOL

SO having said that......I had a chance to create yesterday and wanted to share my unit swap project with you all. I ended up with a dimensional item as my swap item for February. I set out in search of a super cool project as soon as I had my assignment. WELL, 5 weeks sure fly fast when things have been turned upside down and inside out in my life over the past month or so. So here it was Monday and I have to turn in my swap of 12 dimensional items on Tuesday night. What can one put together in that short of time?? I will show you!!

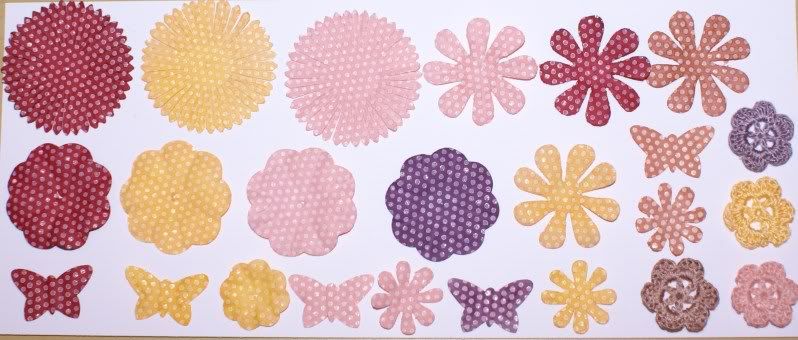
The only difference between these 2 bags is the flower that I used. I did not have enough of one or the other to create 12 bags, so I used what I had. These flowers are new to the Spring Idea Book and are SUPER COOL!! They are the Spring Blossom Just Blooms and I just can't get enough of them right now! I had actually ordered 2 packages of these right away cuz I knew that I would want as many as I could get my hands on! SOOO glad that I did!

The back is fairly plain, but thanks to my daughter, looks better than it did. Originally I had just put Creme Brulee Cardstock distressed with Cocoa ink. Rachael thought it looks a bit plain. So, I took her advice and added patterned paper to match the front paper.

If you like the paper, check out my website for the whole kit! It is called "Veranda" and I think is just beautiful!

Thanks for stopping by!

Hope to have inspired you to give these little paper sacks a try!

Jen